
When it comes to taking care of your moving floor trailer, the significance of vehicle maintenance cannot be overstated. Although most maintenance and repairs are best handled by the manufacturer or approved dealer, you can protect your vehicle, its value and the safety of your operatives by performing some inspections and checks, because as is the case with all things, prevention is better than cure!
Table of Contents
Create a checklist of points that should be reviewed and verified on a daily basis
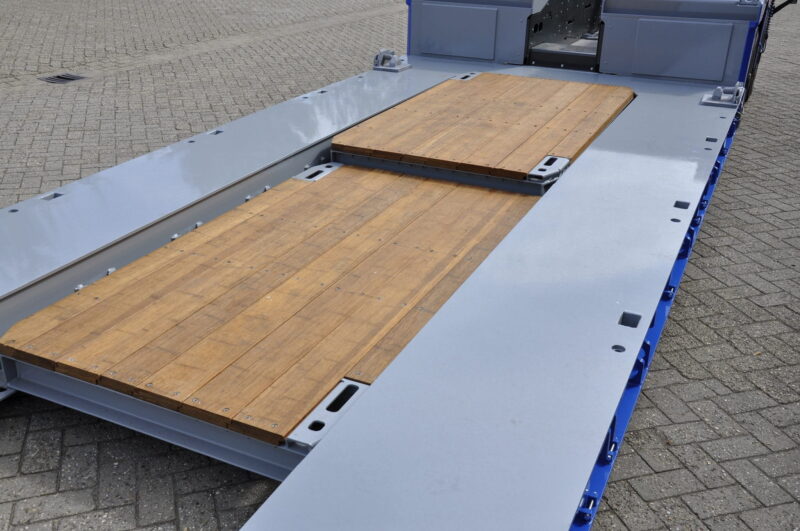
Trailer Floor Check #1:
Check that the floor plank bolts are tightly fastened. It is strongly advised to replace the bolts if there is any movement between the bolts in the planks and the planks themselves.
Trailer Floor Check #2:
Check the seals between the floorboards if they are present. It is advised that the seals be replaced if there is evident degradation or damage.
Trailer Floor Check #3:
Examine your hydraulic pistons. Take a look safely at the underneath of the trailer, inspect the three hydraulic pistons for wear and tear, as well as any obvious damage.
Trailer Floor Check #4:
Examine the hydraulic oil. Check that the buffer tank has enough hydraulic oil (at least 150L). Fill the oil tank with the proper type of hydraulic oil (ISO VG 32) if necessary.
These daily checks should also be followed up with a regular maintenance schedule, following these main points…
Work to be included in routine maintenance
Twice a week, clean the upper rail
The upper rail must be clean to avoid the sliding wheels from becoming clogged and therefore preventing the moving bulkhead. A pressurised air gun can readily clean the upper rail. When hauling dusty loads, it is best to do this after each unloading.
Hydraulics
Every six months, check the condition of the hydraulic oil (hydraulic oil should have a light yellow, olive oil-like colour; as the oil deteriorates, the colour becomes darker or milky). The oil filter should be changed once a year, and the oil itself should be changed every two years (or sooner, depending on use and condition). Once a week, visually verify all hydraulic connections. Examine the area for dirt, debris, and evident damage.
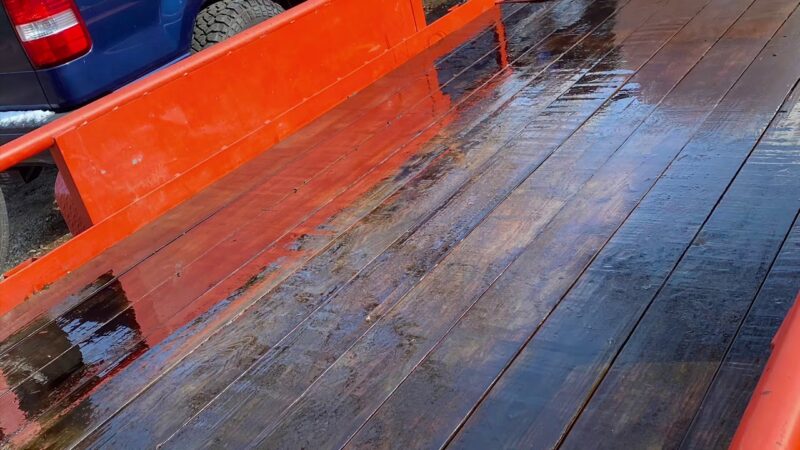
Cleaning Your Trailer’s Movable Floor
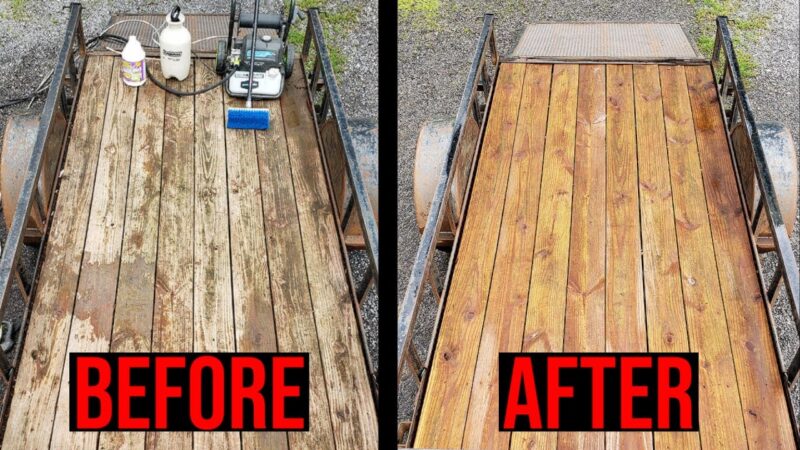
Cleaning your moving floor trailer on a regular basis is essential for keeping it in good shape. Not only do you save extra wear and tear on the moving floor system and other components, but it’s also a good time to inspect other components for any concerns. It is often suggested that you use a pressure washer (60-100 bar) with warm water (40-60°C) and a little detergent.
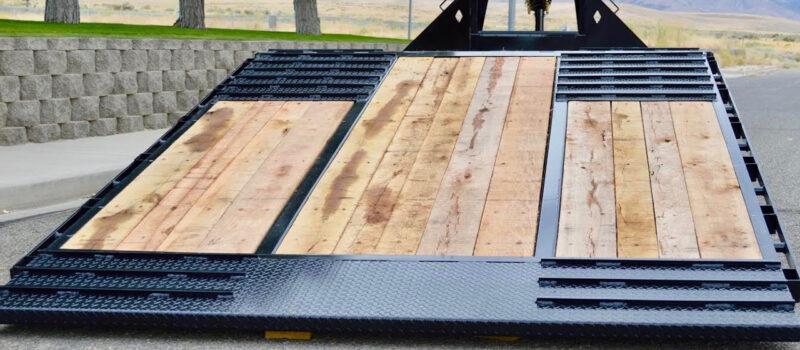
As the floor makes up such a big and important part of your trailer, this should be one of your key focus areas. If you’ve noticed your floor is no longer functioning as it should, or it could do with replacement, then you need to act as soon as possible.
Check out where and what needs replacing
It might be that you don’t need to replace the whole floor, only a section of it. But this will, of course, depend on the type of trailer you have and what the current floor is made from. So when the time comes and before you buy any materials or enlist any help, make sure you give it a close inspection and see what needs to be done.
Remove the Existing Floor
If, however, you’re going about the job yourself (or with a friend’s help), it’s time to remove the old or damaged floor. Be sure to do this carefully and to dispose of any old materials in the safest and most environmentally friendly way.
Check there are no Bigger Issues
You can take this opportunity to really look underneath and check there are no bigger issues. If there is larger structural damage, this may require welding. Make sure that it is completed to the highest standard before proceeding with the new floor. What’s more, if your floor becomes damaged due to a leak from the roof or side panels, it’s important to get this fixed and let the trailer dry out fully before laying the new floor.
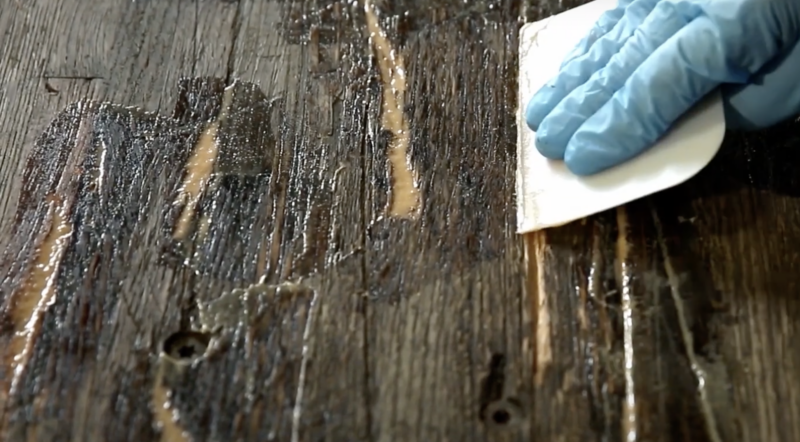
Seal the wood
If you’re going to be putting a wooden deck in your trailer, it’s important that all the wood has been properly sealed before being installed. You should not leave this until after you’ve put the floor in, as it can be a lot messier and also less effective. So before you continue, make sure to get a resin or waterproof stain that will create a water-resistant barrier on the floor. This can be crucial in wetter conditions or if you regularly transport goods containing liquids.
Lay the new floor
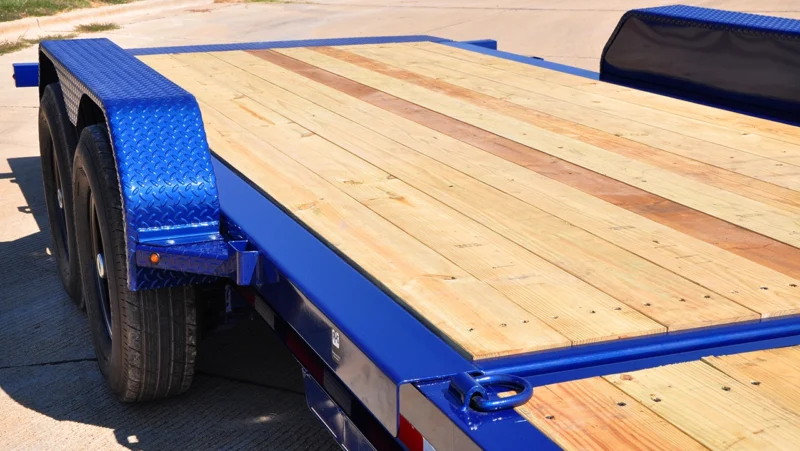
The final stage is to put in the new floor. You can add this in piece by piece, ensuring that every section of the flooring is properly sealed, attached and fit for purpose. Do not try to rush this part of the process, cut corners or use improper tools, as this will only lead to further damage and issues in the future. If one particular area of the floor was damaged worse than the rest, for whatever reason, you might wish to add some extra cross supports to that section to strengthen it in the future.
Conclusion
By following these steps carefully and inspecting your trailer floor at each different stage, you can create something solid and sturdy that will last for years to come. However, if you find that even after your system of checks and maintenance your moving floor trailer isn’t working to it’s usual level or it has met with some damage, then it’s best to leave it to the experts.